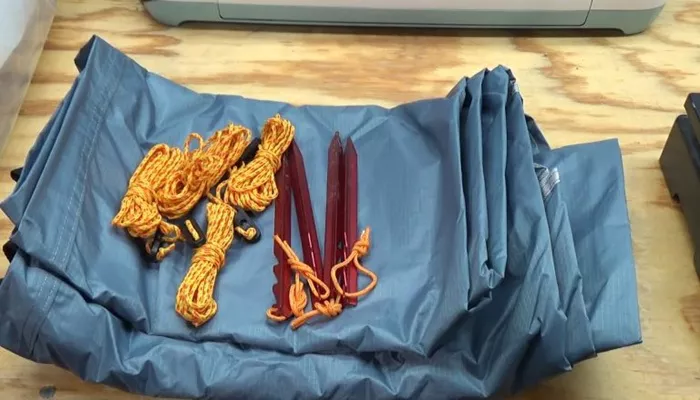
Camping in a hammock is a great way to enjoy nature. But when it rains, you need protection. A waterproof rain fly (or tarp) keeps you dry. In this guide, you’ll learn how to make your own hammock rain fly step by step.
Why You Need a Hammock Rain Fly
Keeps You Dry
Rain can ruin a camping trip. A good rain fly blocks water and keeps your hammock dry.
Blocks Wind
A tarp also stops cold wind, making your sleep more comfortable.
Provides Shade
On sunny days, the tarp works as a sunshade.
Materials Needed for a DIY Hammock Rain Fly
To make a strong, waterproof rain fly, you’ll need:
1. Waterproof Fabric
- Ripstop Nylon: Lightweight and durable.
- Silnylon (Silicone-coated Nylon): Very waterproof.
- Polyester Tarpaulin: Heavy-duty but affordable.
2. Strong Thread
Use polyester or nylon thread for sewing.
3. Grommets or Reinforced Tie-Out Points
These help attach ropes to the tarp.
4. Sewing Machine (or Needle for Hand Stitching)
A heavy-duty sewing machine works best.
5. Waterproof Seam Sealer
This prevents leaks at stitched areas.
6. Measuring Tape, Scissors, and Pins
For cutting and shaping the tarp.
Step-by-Step Guide to Making a Hammock Rain Fly
Step 1: Choose the Right Size
A good rain fly should be at least 1 foot longer than your hammock. Common sizes:
- 8×10 feet (for solo campers)
- 10×12 feet (for extra coverage)
Step 2: Cut the Fabric
- Lay the fabric flat.
- Mark the desired size with a marker.
- Cut carefully with sharp scissors.
Step 3: Reinforce the Edges
- Fold the edges twice (about ½ inch each fold).
- Sew along the edges to prevent fraying.
Step 4: Add Tie-Out Points
- Place grommets at each corner (and middle if needed).
- Reinforce these spots with extra stitching.
Step 5: Seal the Seams
- Apply seam sealer along all stitched areas.
- Let it dry completely before use.
Step 6: Test for Leaks
- Hang the tarp and spray water on it.
- Check for leaks and reseal if needed.
Different Hammock Tarp Shapes
1. Rectangle Tarp
- Pros: Simple to make, good coverage.
- Cons: Heavier than other shapes.
2. Hex Tarp
- Pros: Lightweight, sheds wind well.
- Cons: Harder to DIY.
3. Diamond Tarp
- Pros: Minimalist, easy to set up.
- Cons: Less coverage.
How to Set Up Your Hammock Rain Fly
1. Find Good Anchor Points
Use trees or poles to tie the tarp.
2. Use Strong Ropes
Paracord or Dyneema lines work best.
3. Angle for Rain Runoff
Set one side lower so water flows away.
4. Secure All Corners
Prevent flapping in the wind.
Maintenance Tips
- Store Dry: Avoid mold.
- Check for Damage: Repair small tears early.
- Reapply Seam Sealer every few trips.
Conclusion
Making a hammock rain fly is easy with the right materials. A DIY tarp saves money and fits your needs. Follow these steps, and you’ll stay dry on every trip!
Now, go enjoy the outdoors—rain or shine!
This guide is based on expert camping knowledge and practical DIY experience. For more tips, check outdoor forums or gear-making tutorials. Happy camping!
Related topics:
Best Lightweight Camping Hammocks: A Complete Guide
Best Lightweight Hammock for Outdoor Adventures
Best Double Hammock: A Comprehensive Guide

